
BLOG
Custom Boxes with Eva Foam Inserts for Safe Transit


Product safety during transit is one of the most important parts of successful packaging. A product may leave the warehouse in perfect condition, but if it is not supported properly inside the box, it can arrive damaged, scratched, loose, or poorly presented. For e-commerce, retail, gift, and premium product brands, this can directly affect customer satisfaction and brand trust.
Shipping can be unpredictable. Packages may be stacked, tilted, moved, dropped, or handled several times before reaching the customer. This is why brands need more than a strong outer box. They also need inner packaging that holds products securely and reduces movement during delivery.
Cardboard and foam support can help create this protection. Both materials play an important role in keeping products safe, organized, and presentable throughout the shipping journey.
Why Product Safety Matters in Transit
Customers expect products to arrive in perfect condition. If an item is broken, dented, scratched, or leaking, the customer experience becomes negative before the product is even used. Even small damage can make a product feel lower quality, especially when customers pay for premium items.
Poor transit protection can lead to:
- Returns and refunds
- Replacement costs
- Negative reviews
- Customer complaints
- Damaged brand reputation
- Lower repeat purchases
- Poor unboxing experience
Product safety is not only about avoiding damage. It is also about showing customers that the brand cares about quality and delivery standards.
Inner Packaging Reduces Product Movement
One of the biggest causes of transit damage is product movement. If the item shifts inside the box, it can hit the box walls, rub against other items, or break under pressure. This is especially risky for fragile, polished, glass, electronic, or high-value products.
Inner packaging helps solve this problem by holding the product in a fixed position. Cardboard inserts, foam inserts, dividers, trays, and compartments can keep items stable from the time they are packed until they are opened by the customer.
When products stay in place, they are more likely to arrive safely and look professionally presented.
Foam Inserts Absorb Impact
Foam support is useful for products that need cushioning and close-fit protection. Foam can help absorb pressure and reduce the effect of movement during transit. It also protects delicate surfaces from scratches, dents, and direct contact with the box.
Custom Boxes with Eva Foam Inserts are especially helpful for brands selling fragile or premium products. EVA foam can be cut according to the product shape, giving each item a secure position inside the box. This makes the packaging safer and more organized.
EVA foam inserts are commonly used for:
- Electronics
- Jewelry
- Watches
- Perfume bottles
- Cosmetic products
- Skincare jars
- Tools and devices
- Glass items
- Collectibles
- Luxury gifts
The fitted structure makes the product feel more secure and premium when the box is opened.
Cardboard Support Adds Structure
Cardboard support is another smart option for improving product safety in transit. Cardboard inserts, dividers, and trays can separate items, reduce movement, and create a clean internal layout. They are lightweight, practical, and suitable for many product categories.
Cardboard support works well for:
- Bottles and jars
- Candles
- Food gift boxes
- Cosmetic kits
- Retail bundles
- Subscription boxes
- Printed materials
- Small accessories
- Multi-product sets
Cardboard dividers are especially useful when multiple items are packed inside one box. They prevent products from touching each other and help maintain a neat presentation.
Foam and Cardboard Can Work Together
Some products need both cushioning and structure. Foam can protect delicate surfaces and absorb impact, while cardboard can create compartments and support the overall layout. When used together, these materials create a stronger packaging system.
For example, a premium electronics kit may use cardboard compartments for accessories and foam support for the main device. A glass bottle set may use cardboard dividers with foam padding for extra safety. A luxury gift box may use foam inserts for display and cardboard layers for structure.
This combination helps brands protect products while keeping the unboxing experience clean and professional.
Better Transit Protection Improves Customer Trust
Customers may not see the full shipping journey, but they see the result when they open the package. If the product arrives safely and looks well arranged, they feel more confident in the brand. If the item arrives damaged or loose, they may feel the brand was careless.
Strong inner protection helps build trust by showing attention to detail. It tells customers that the business has considered product safety from packing to delivery.
This trust can lead to better reviews, repeat purchases, and stronger customer loyalty.
Custom Foam Inserts Improve Product Fit
Generic packaging does not always protect products properly. If the box or insert does not match the product shape, the item may still move during shipping. A custom fit gives the product better support.
Custom Foam Inserts can be designed around exact product dimensions. This helps hold items securely and creates a more polished display. The product appears intentionally placed instead of randomly packed.
Custom foam inserts are useful for fragile, luxury, and high-value products because they provide both protection and premium presentation. They can be used in rigid boxes, shipping boxes, retail boxes, and gift packaging.
Organized Packaging Creates Better Unboxing
Product safety and presentation should work together. A package that protects well but looks messy may still reduce the customer experience. Customers enjoy opening boxes where every item has its own space and the product is easy to remove.
A clean unboxing layout can include:
- Fitted foam inserts
- Cardboard dividers
- Product trays
- Pull tabs
- Branded cards
- Instruction slots
- Thank-you notes
- Separate compartments
Organized packaging makes the product feel more valuable and helps customers understand that the brand has packed the order with care.
Transit Protection Reduces Business Costs
Damaged products cost businesses money. Every replacement, refund, reshipment, and support request affects profit. Poor packaging can also create long-term damage if customers leave negative reviews or avoid buying again.
Better cardboard and foam support can reduce these risks by improving product stability during transit. When fewer products arrive damaged, brands can protect both customer satisfaction and business performance.
For growing e-commerce brands, this is especially important because shipping volume increases the need for reliable packaging systems.
Choose Support Based on Product Type
Every product has different protection needs. A lightweight product may only need cardboard support, while a fragile glass product may need foam cushioning. A multi-item set may need dividers, while a luxury product may need a fitted insert for both protection and display.
Brands should consider:
- Product size
- Product weight
- Fragility level
- Surface finish
- Number of items
- Shipping distance
- Retail display needs
- Customer expectations
- Insert material
- Unboxing experience
Choosing the right material helps brands create safe packaging without wasting space or adding unnecessary complexity.
Cardboard Support for Sustainable Presentation
Many brands also consider sustainability when choosing packaging materials. Cardboard inserts can be a good option for businesses that want protective packaging with a clean, paper-based structure. They can be designed to reduce excess filler and keep products organized.
For eco-conscious brands, cardboard support can create a natural and minimal look while still improving product safety. It works well for products that need separation, structure, and neat presentation without heavy cushioning.
Foam Support for Premium Protection
Foam support is ideal when products need a higher level of cushioning. It is often used for delicate, expensive, or polished items that require a close fit. Foam can help protect product surfaces and keep items from shifting during handling.
For premium brands, foam inserts can also improve perceived value. A product placed inside a fitted foam insert looks more secure, more professional, and more carefully presented.
Final Thoughts
Cardboard and foam support can significantly improve product safety in transit by reducing movement, absorbing impact, and keeping items organized inside the box. A strong outer package is important, but inner protection is what keeps the product stable during delivery.
For brands selling fragile, premium, or high-value products, better inner packaging is a smart investment. Cardboard dividers, foam inserts, trays, and custom supports help products arrive safely and look professional when opened.
When customers receive products in perfect condition, they feel more satisfied and more confident in the brand. That positive delivery experience can lead to better reviews, stronger trust, and repeat purchases.

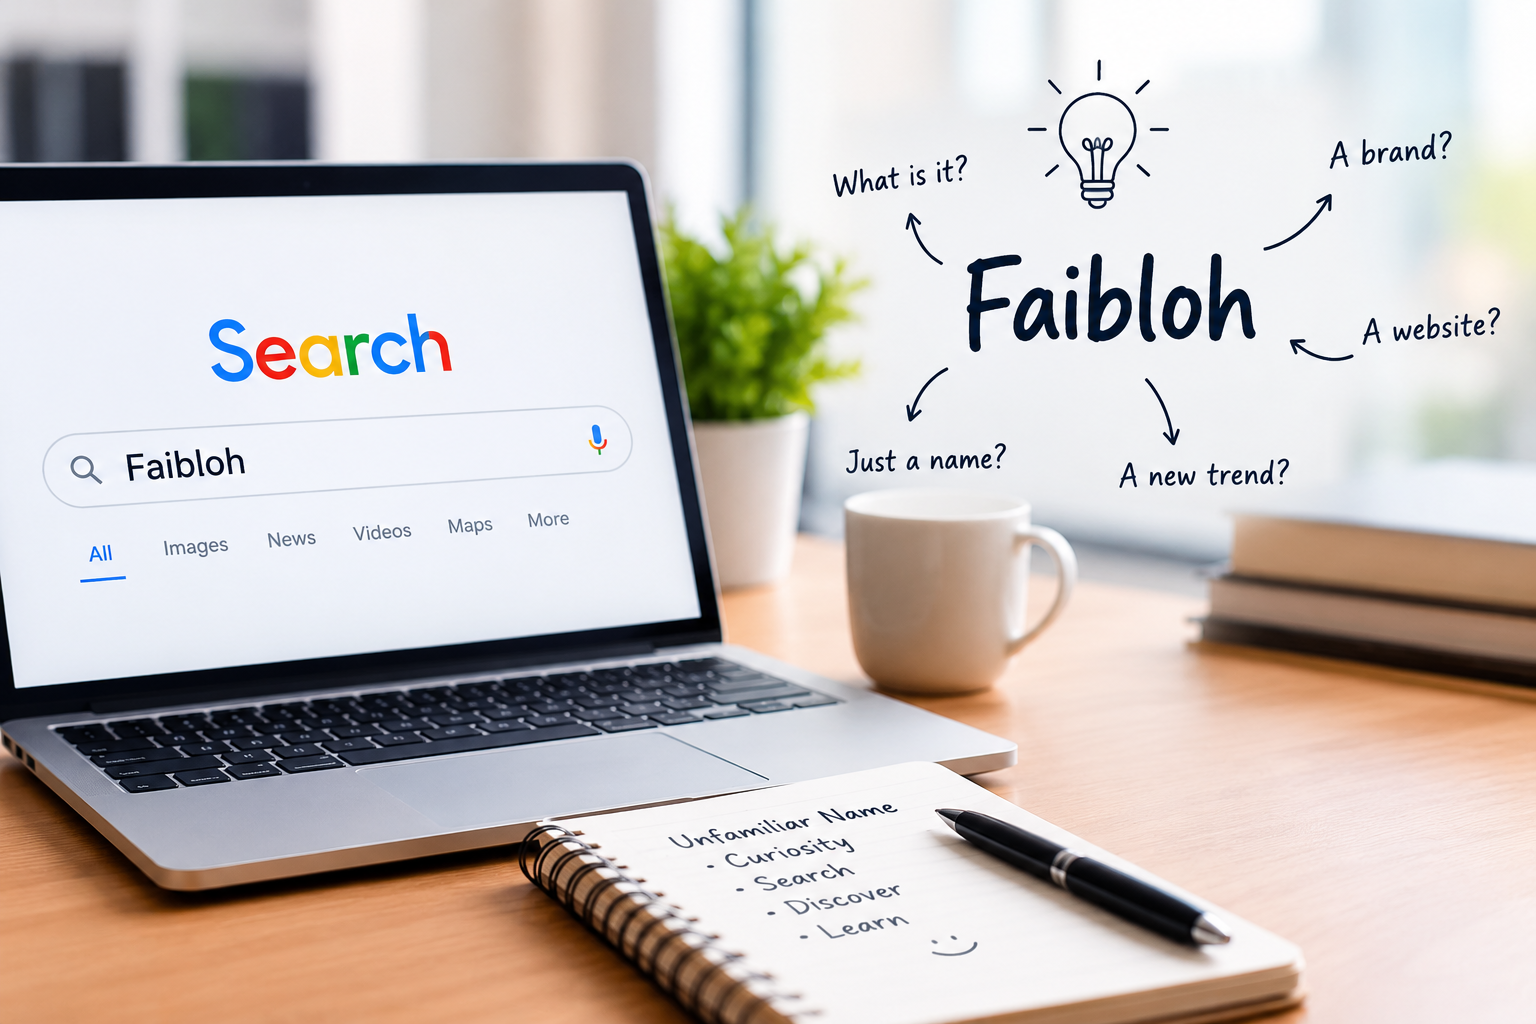
Faibloh is an unusual search term that invites questions about how unfamiliar words gain attention in today’s digital environment. As people encounter new names through websites, social media, online communities, and digital publications, they often turn to search engines to discover their meanings. Faibloh provides an opportunity to explore this behavior and understand why distinctive terms can attract interest even when their background is not immediately clear.
The internet introduces countless new expressions every day. Some represent businesses or products, while others originate from usernames, creative projects, or emerging online communities. Without reliable information, it can be difficult to determine which category an unfamiliar word belongs to.
Understanding faibloh therefore begins with curiosity and research rather than assumptions. Examining how people discover unfamiliar terms, how search engines organize information, and how publishers respond to emerging queries offers a clearer picture of the modern digital landscape.
What Makes Faibloh an Interesting Online Term?
Unfamiliar words often attract attention because they do not provide an obvious explanation. A recognizable name may suggest a product, place, or service, but an unusual expression can leave established service what it represents.
Faibloh has this characteristic of an unfamiliar keyword. Its spelling alone does not establish a particular meaning, origin, or connection to an established organization. Additional context is necessary before any specific interpretation can be considered reliable.
People encountering such terms may search for their definitions, look for websites using the same spelling, or compare references across different platforms. Their goal is usually straightforward: to replace uncertainty with useful information.
However, the presence of a word in search results does not automatically establish its popularity or legitimacy. A meaningful explanation requires supporting evidence, consistent references, and a clear understanding of where the term appears.
Faibloh and the Psychology of Online Curiosity
Curiosity influences many everyday internet activities. People investigate unfamiliar subjects because they want answers, clarification, or a better understanding of something they have encountered.
Why unfamiliar terms attract attention
An unfamiliar word creates an information gap. Readers recognize that something has caught their attention, but they may not know enough to understand its purpose.
Faibloh may prompt this response among people who encounter it without an explanation. Some may wonder whether it refers to a website, while others may simply want to understand the word itself.
This behavior demonstrates why specific search queries can develop around unusual expressions. People often investigate a term before deciding whether it deserves further attention.
How repeated exposure affects recognition
Seeing a name several times can make it seem familiar. A person who initially overlooks an unfamiliar expression may eventually search for it after encountering it in different contexts.
Nevertheless, familiarity should not be confused with credibility. Repeated references may come from independent sources, but they can also result from copied content or automated publishing.
Readers should examine the quality of the sources rather than relying on repetition alone. Reliable information depends on evidence, not simply on how frequently a phrase appears online.
Faibloh and Search Engine Optimization
Search engine optimization, commonly known as SEO, helps publishers organize information so that search engines and readers can understand its subject.
Understanding the search intent behind Faibloh
Search intent refers to the reason someone enters a particular query. A person searching for faibloh might want a definition, background information, a website reference, or clarification about something encountered online.
When the exact meaning remains uncertain, useful content should explain that limitation honestly. Inventing a detailed history or claiming that the term belongs to a specific company without evidence can mislead readers.
Publishers should investigate the available context and determine which questions can be answered accurately. This approach helps produce content that addresses genuine curiosity instead of simply repeating a keyword.
Using Faibloh naturally in an article
A target keyword can appear in the title, opening paragraph, and relevant headings. These placements make the subject clear without requiring excessive repetition.
Related expressions such as digital discovery, unfamiliar search terms, online research, and search behavior can expand the discussion naturally.
Keyword density is only one consideration in SEO. Clear writing, useful information, grammatical accuracy, and a good match with reader expectations are more important than forcing the same phrase into every section.
How to Research Faibloh Effectively
Research becomes particularly important when a term has an unclear or limited public background. A careful process can help distinguish reliable information from speculation.
Start with an exact search
Search for faibloh using its precise spelling. Examine whether the results refer to a consistent subject or several unrelated uses.
If the results are limited, avoid treating that absence of information as proof that the term has a particular meaning. It simply indicates that further evidence may be necessary.
Look for credible original sources
If the term appears to identify a business, website, or product, look for an official website, a verified profile, or reliable documentation.
Primary sources can help establish how an organization describes itself. Independent reporting and relevant public records may provide additional context.
A website’s existence alone does not prove that its claims are accurate or that its services are trustworthy. Readers should verify important details before relying on them.
Compare information and publication dates
Online information changes over time. An older page may describe a project that no longer operates, while a recent article may contain unverified claims.
Check publication dates, compare supporting evidence, and distinguish confirmed details from assumptions. If the meaning of faibloh remains unclear, acknowledge that uncertainty instead of manufacturing an explanation.
Common Mistakes When Writing About Faibloh
One common mistake is assigning an unsupported identity to an unfamiliar keyword. A writer might describe it as a technology platform, business, or popular service without having evidence to support those claims.
Another mistake is confusing online visibility with public recognition. Search results may contain references to a term without demonstrating that it has a substantial audience or established reputation.
Excessive keyword repetition can also weaken an article. Readers generally want meaningful explanations, not paragraphs that repeat the same phrase without adding information.
A stronger approach focuses on research, transparent wording, and relevant context. Every section should answer a useful question or explain an important aspect of the subject.
The Future of Digital Discovery and Faibloh
The internet continues to introduce unfamiliar names through creative projects, online communities, digital businesses, and social platforms. Some names gradually become recognizable, while others remain obscure or disappear from public attention.
Search engines make these expressions easier to investigate, but their long-term significance depends on context, actual usage, and the availability of reliable information.
For publishers, unfamiliar keywords can offer opportunities to answer specific questions. However, sustainable content strategies prioritize accuracy and relevance rather than producing articles based solely on a name.
Faibloh illustrates the importance of understanding a search term before making claims about it. Research can reveal whether the word has an established meaning, several possible uses, or very little documented context.
Conclusion
Faibloh offers a useful starting point for examining how unfamiliar words encourage curiosity and digital exploration. People often search for unusual terms because they want to understand their meaning, identify their source, or clarify a reference encountered online.
However, an unfamiliar name does not automatically represent a recognized brand, established service, or popular trend. Determining its significance requires credible sources, careful verification, and an honest assessment of the available evidence.
For website owners, the lesson is straightforward: effective SEO content should answer genuine questions, use keywords naturally, and provide useful information without relying on unsupported claims.
Ultimately, exploring faibloh demonstrates how online curiosity can lead to meaningful research. When accuracy and transparency guide that process, readers receive more value than they would from speculation alone.
Frequently Asked Questions
1. What does faibloh mean?
The exact meaning of faibloh has not been established by the information available for this article. A reliable source or additional context would be needed to confirm a specific definition.
2. Why might people search for faibloh?
People may encounter the term on a website, social platform, or online discussion and search for further information to understand its context.
3. Is faibloh a website or a brand?
The keyword alone does not establish whether faibloh identifies a website, brand, product, or another type of entity. Verification is necessary.
4. How can I research faibloh online?
Start with an exact-match search, review credible sources, check publication dates, and compare the context in which the term appears.
5. Can faibloh be used as an SEO keyword?
Yes. It can be a target keyword when the article provides relevant, accurate information and uses the phrase naturally.
6. What makes content about faibloh useful?
Useful content provides context, answers relevant questions, separates verified information from uncertainty, and avoids presenting unsupported assumptions as facts.
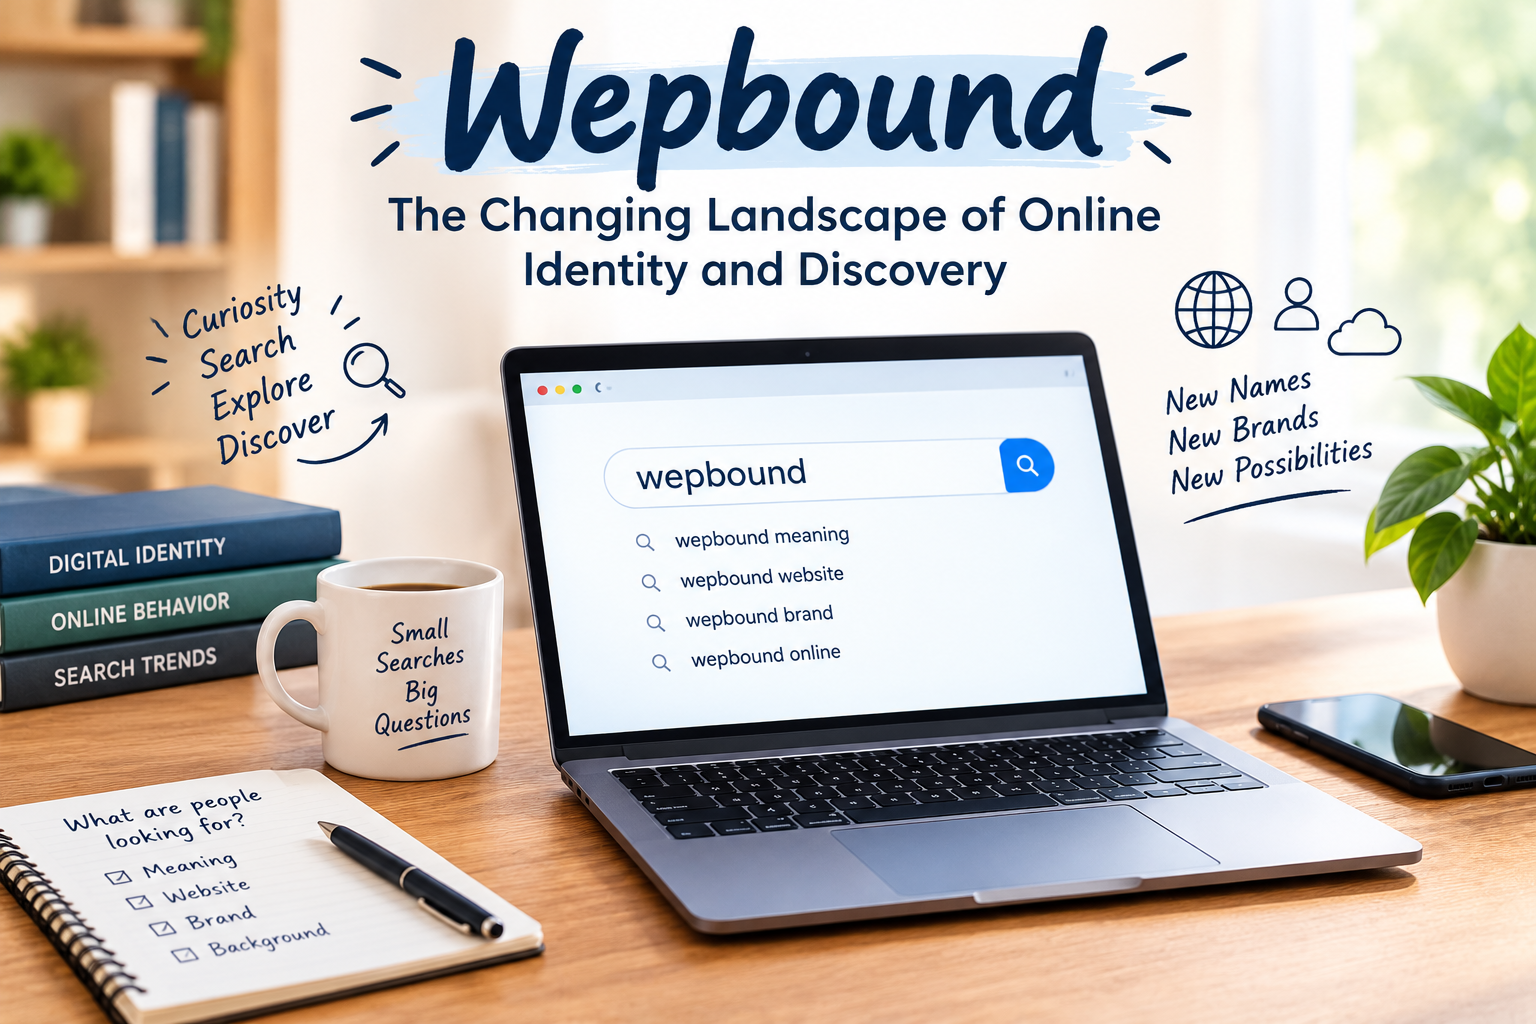
Wepbound is an unusual search term that offers an interesting starting point for understanding how people discover unfamiliar names across the internet. As new websites, digital projects, online communities, and creative brands emerge, distinctive words can attract attention even when their meanings are not immediately clear. The growing use of search engines makes it easier for people to investigate these expressions and look for reliable explanations.
The internet contains millions of recognizable names alongside countless unfamiliar terms. Some represent established businesses, while others belong to individual creators, experimental projects, or niche online communities. Wepbound should be approached with the same curiosity and caution as any unfamiliar keyword. Its spelling alone does not establish its origin, purpose, or connection to a particular service.
Exploring this term provides an opportunity to examine online discovery, digital identity, and search engine behavior. It also highlights why reliable research matters when readers encounter a name without enough context to understand its meaning.
What Makes Wepbound Interesting in Online Searches?
An unfamiliar name can raise several questions. Is it connected to a website? Does it identify a business, product, or online community? Could it be a newly created expression? These possibilities encourage people to investigate rather than rely on assumptions.
Wepbound has a distinctive appearance, but its precise meaning cannot be confirmed from the word alone. Establishing its identity would require relevant sources, documented usage, or additional context showing where and how it appears.
This distinction matters because search terms do not always correspond to established brands or services. Some originate from usernames, project names, creative experiments, or isolated online references. Others may have multiple meanings depending on the community using them.
For readers, the most useful approach is to examine the evidence before reaching a conclusion. Search results can provide starting points, but their presence does not automatically establish credibility or widespread recognition.
Wepbound and the Psychology of Online Curiosity
Curiosity plays a major role in internet browsing. People frequently investigate unfamiliar expressions because they want to resolve uncertainty, identify a reference, or understand something they have encountered elsewhere.
Why unfamiliar terms attract attention
Recognizable words often provide immediate clues about their meaning. Unusual expressions, however, may offer little information about their purpose. That uncertainty can encourage users to search for explanations.
Someone encountering wepbound might look for its definition, search for an associated website, or investigate whether it appears in discussions elsewhere. Different users may have different motivations, even when they enter exactly the same query.
This behavior illustrates an important feature of digital discovery: the search process often begins before a person knows precisely what they are looking for.
How repeated exposure influences recognition
Repeated exposure can make an unfamiliar expression seem more recognizable. A person who sees the same term on different occasions may become increasingly interested in discovering its background.
However, familiarity is not the same as credibility. Several websites might repeat identical information without independently verifying it. Automated pages and copied articles can also create the impression that a term has a larger presence than the evidence supports.
Readers should therefore examine source quality, consistency, and context rather than judging a term’s significance solely by how often it appears.
Wepbound in Search Engine Optimization
Search engine optimization, commonly known as SEO, helps publishers organize content so that search engines can understand its subject and connect it with relevant queries.
Understanding search intent behind wepbound
Search intent refers to the reason someone enters a particular query. A person searching for wepbound might want a definition, background information, a related website, or clarification about a name encountered online.
When the term’s identity is unclear, useful content should explain the uncertainty instead of manufacturing a confident definition. This approach gives readers a more accurate starting point for further research.
Publishers can also investigate the context in which a keyword appears to determine whether readers are seeking informational, navigational, or commercial content.
Using the keyword naturally
A well-structured article can include its main keyword in the title, introduction, and relevant headings. These placements make the subject clear without requiring excessive repetition.
For wepbound, related phrases such as digital discovery, unfamiliar online terms, search behavior, and internet identity can support the discussion naturally.
Keyword density should not become the only measure of SEO quality. Search relevance, factual accuracy, readability, and useful information are essential components of a strong article.
How to Research Wepbound and Verify Its Meaning
Researching an unfamiliar term requires a methodical approach. Rather than assuming that the name represents a particular service, readers can follow several steps to establish what the available evidence actually shows.
Start with an exact-match search
Search for the precise spelling first. This helps identify pages that use the same term and reveals whether the results consistently refer to one subject.
If the results point toward several unrelated topics, the name may have multiple uses or lack a single established meaning.
Look for reliable primary sources
If wepbound appears to identify a company, product, or digital platform, look for an official website, verified social profile, or credible documentation.
Primary sources can explain how an organization describes its own activities. Independent reporting and relevant public records may provide additional evidence when available.
Avoid assuming that a website is legitimate simply because it uses the keyword or appears in search results.
Check dates and supporting evidence
Online information can become outdated, especially when it concerns digital services and businesses. Publication dates, current website details, and independent references can help establish whether a claim remains relevant.
When reliable information is unavailable, acknowledging that limitation is more useful than inventing an origin story. Responsible research separates confirmed details from possibilities and unanswered questions.
Common Mistakes When Exploring Wepbound
One common mistake is assigning a specific meaning to an unfamiliar word without evidence. An attractive explanation might make an article sound complete, but unsupported claims can mislead readers.
Another mistake is assuming that search visibility demonstrates popularity or legitimacy. A name appearing across several pages does not prove that it represents a successful business or widely used service.
Publishers can also weaken content by repeating the same keyword in every heading and paragraph. Such repetition makes articles less natural and provides little additional value.
A better approach emphasizes original research, relevant context, and straightforward explanations. Each section should answer a meaningful question rather than restating information that readers already know.
The Future of Digital Discovery and Wepbound
Online discovery continues to evolve as search engines, social networks, and artificial intelligence tools change how people find information. New terms emerge through creative projects, online communities, product launches, and individual experimentation.
Some unfamiliar names eventually become recognizable brands or established expressions. Others remain obscure or disappear from public attention. Their development depends on actual usage, credible references, community interest, and the availability of meaningful information.
Wepbound illustrates why context is essential when investigating a distinctive search term. Its future significance, if any, cannot be determined from its spelling alone. Reliable evidence is needed to establish what it represents and how people use it.
For publishers, this environment creates an opportunity to answer genuine questions while maintaining clear standards for accuracy and transparency.
Conclusion
Wepbound provides a useful starting point for exploring how unfamiliar names encourage online searches and digital curiosity. People regularly encounter expressions that prompt questions about meaning, origin, and identity.
However, an unusual keyword does not automatically identify a recognized company, platform, or product. Understanding its significance requires careful research, credible evidence, and a willingness to acknowledge uncertainty.
For readers, these habits support better digital judgment. For website owners, they demonstrate why effective SEO should prioritize useful information over speculation and excessive keyword repetition.
Ultimately, the value of researching wepbound lies in the process of discovering reliable context. Accurate explanations and transparent research remain more valuable than assumptions when navigating an increasingly crowded digital landscape.
Frequently Asked Questions
1. What does wepbound mean?
Its precise meaning has not been established from the information available for this article. Additional context or a reliable source is needed to identify a specific definition.
2. Is wepbound a website or a brand?
The keyword alone does not confirm that it represents a particular website, product, or business. An official source would help establish its identity.
3. Why might people search for wepbound?
People may encounter the term online and search for its meaning, background, or connection to a particular digital resource.
4. How can I research wepbound?
Use an exact-match search, review credible sources, check publication dates, and compare the context in which the term appears.
5. Can wepbound be used as an SEO keyword?
Yes, provided the content addresses the search query meaningfully. Natural keyword placement and accurate information are preferable to excessive repetition.
6. What makes content about unfamiliar terms trustworthy?
Trustworthy content distinguishes verified facts from uncertainty, relies on credible sources, answers relevant questions, and avoids presenting speculation as established information.
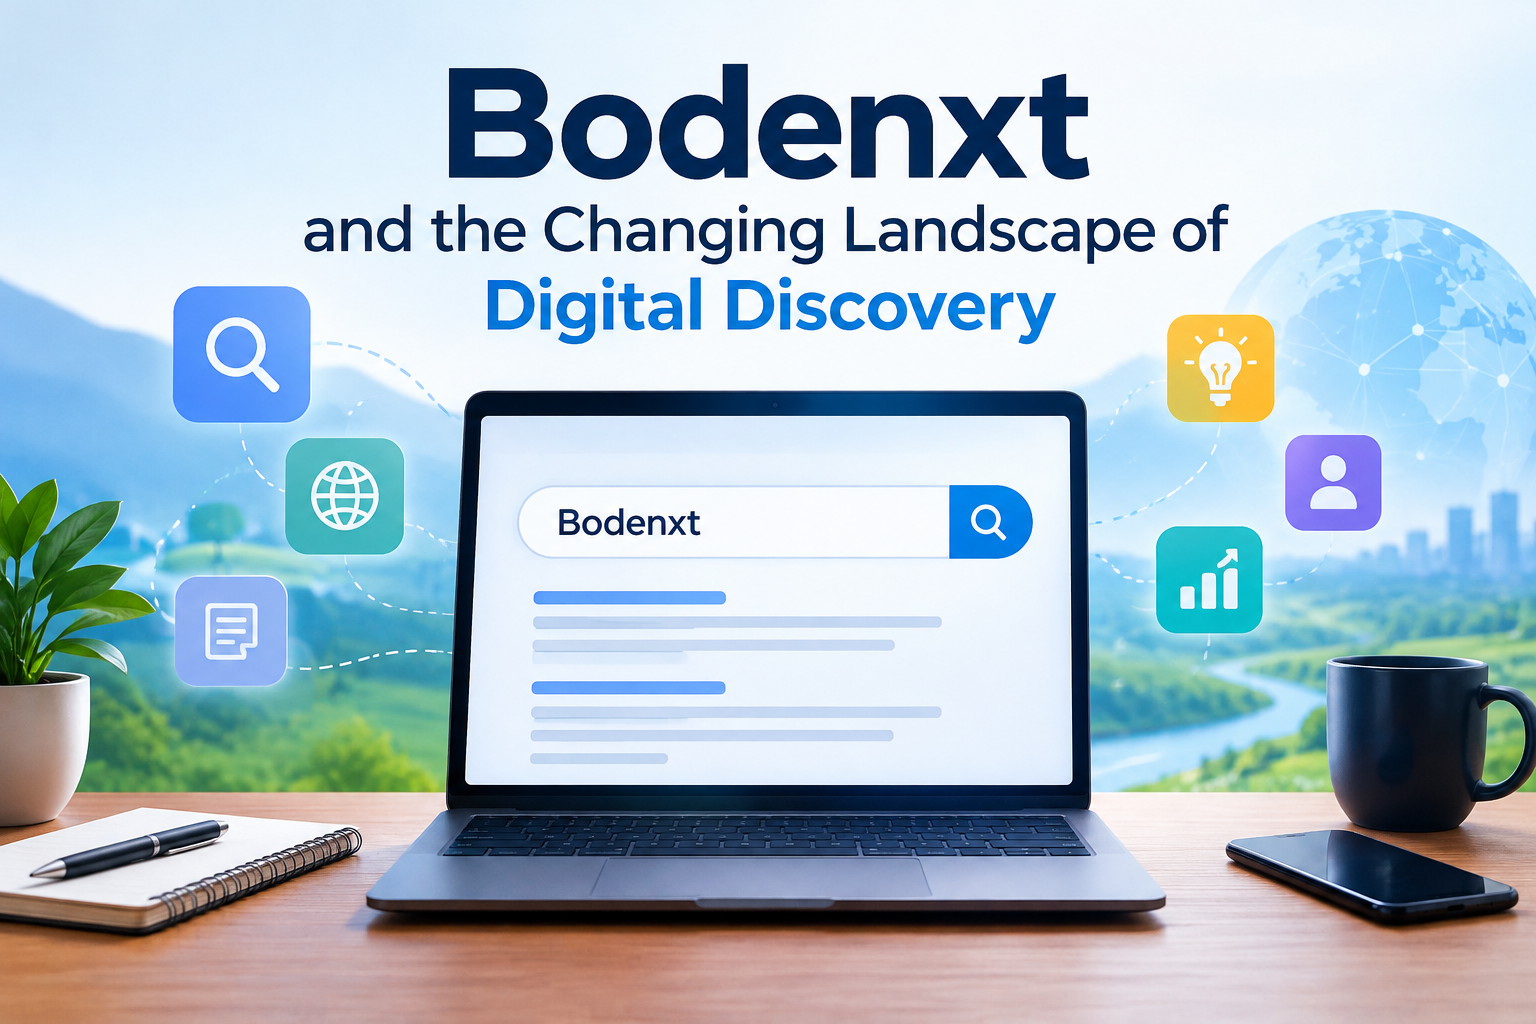
Bodenxt is an unusual search term that offers an opportunity to explore how unfamiliar names attract attention across the internet. As digital platforms continue to introduce new brands, creative projects, online identities, and expressions, people regularly encounter words they cannot immediately identify. Bodenxt raises questions about this process and highlights the importance of understanding the context behind unfamiliar search queries.
The internet makes discovering new information easier than ever, but not every term has a clear definition or established public background. Some names belong to emerging businesses, while others appear in limited discussions or are created for specific online communities. Without reliable evidence, it is important not to assign Bodenxt a meaning that has not been confirmed.
Examining this term from a digital perspective provides useful insight into search habits, online curiosity, and the ways publishers can create informative content. It also demonstrates why accurate research matters when an unfamiliar keyword becomes the focus of an article.
What Makes Bodenxt Worth Exploring?
Unfamiliar words can attract attention because they leave room for questions. When readers encounter a name they do not recognize, they may wonder whether it represents a website, product, company, username, or newly developed concept.
Bodenxt has the characteristics of a distinctive search phrase, but its spelling alone cannot establish its origin or purpose. Identifying its actual meaning requires relevant context, reliable references, and evidence connecting the term to a specific subject.
This uncertainty is not unusual in the digital world. New names appear frequently, and some remain difficult to identify until their creators or users provide more information.
For readers, investigating such terms can be an exercise in digital literacy. Instead of accepting the first explanation they encounter, they can compare sources and determine whether the available information supports a consistent conclusion.
Bodenxt and the Psychology of Online Curiosity
Curiosity influences how people interact with digital information. A strange name, unfamiliar phrase, or unexpected reference can encourage someone to open a search engine and investigate further.
Why unfamiliar terms attract attention
People often search for information when something does not fit their existing knowledge. A familiar word may immediately suggest a meaning, while an unfamiliar expression creates uncertainty.
Bodenxt may prompt questions about its identity, background, or relevance. Someone might have seen it in a discussion, encountered it on a webpage, or received it from another person. Each situation creates a different reason to investigate.
This behavior illustrates an important feature of internet usage: searches are not always driven by a practical need. Sometimes, people simply want to understand something they have noticed.
How repeated exposure affects recognition
A term can become more recognizable when people encounter it repeatedly. Seeing the same expression across different pages may encourage further investigation.
However, repetition does not automatically establish credibility. Multiple websites may reproduce identical information without independently verifying it. A name appearing in search results therefore does not prove that it belongs to a reputable company or widely used service.
Readers should examine the origin of claims and look for independent confirmation before drawing conclusions.
Bodenxt in Search Engine Optimization
Search engine optimization, commonly known as SEO, helps publishers make relevant information easier to discover. A well-organized article communicates its subject clearly while addressing the questions readers are likely to ask.
Understanding search intent
Search intent refers to the reason someone enters a particular query. A person searching for Bodenxt may want to understand its meaning, identify a possible website, or discover where the term originated.
A useful article should respond to these possibilities without pretending to know more than the evidence supports. When a term has an unclear background, acknowledging that uncertainty is more valuable than inventing a detailed explanation.
Publishers can improve their content by researching the available context and identifying the most reasonable questions behind the search.
Using Bodenxt naturally in content
Including the target keyword in the title, opening paragraph, and relevant headings helps establish the article’s subject. However, repeating it in every sentence can make the writing feel artificial.
Related phrases such as online discovery, unfamiliar search terms, digital visibility, and search behavior can expand the discussion naturally.
Good SEO writing prioritizes clarity and usefulness. Keyword placement should support the article rather than determine every sentence. Readers should finish the page with a clearer understanding of the subject and the limitations of the available information.
How to Research Bodenxt Effectively
Research is especially important when an unfamiliar term lacks a well-established meaning. A few practical steps can help readers identify reliable information.
Start with the exact term
Search for the precise spelling of Bodenxt before exploring variations. Exact searches can reveal whether the term appears consistently across different sources or is associated with several unrelated subjects.
Pay attention to the context surrounding each result. A relevant article, an official business page, and an unrelated discussion do not provide the same kind of evidence.
Look for original sources
If Bodenxt appears to represent a company, service, or product, search for an official website or credible documentation. Original sources can clarify how a name is used and what an organization claims to offer.
Independent reporting and relevant public records may provide additional confirmation. Nevertheless, an official page should not automatically be treated as proof of every claim about security, reputation, or business performance.
Check the accuracy of published information
Publication dates matter because websites and online identities can change. Older pages may describe services that are no longer available or provide details that have since become inaccurate.
Compare important claims, check their sources, and distinguish confirmed facts from speculation. If reliable information about Bodenxt remains limited, state that limitation clearly.
Common Mistakes When Discussing Bodenxt
One mistake is inventing a definition simply because a keyword needs an explanation. Although this approach can produce a detailed article, it risks misleading readers and undermining trust.
Another mistake is assuming that an unusual name represents a successful digital brand. A distinctive spelling does not confirm commercial activity, public recognition, or an established online service.
Some publishers also focus too heavily on keyword density. Repeating the same phrase throughout an article may satisfy a superficial checklist, but it does not necessarily improve readability or search performance.
A stronger approach combines relevant keyword placement with useful explanations, careful research, and transparent language. Each section should add information rather than restate earlier points.
The Future of Digital Discovery and Bodenxt
The digital landscape continues to evolve as new websites, applications, businesses, and online communities emerge. Distinctive names can gain attention through social sharing, creative projects, product launches, or simple curiosity.
Some unfamiliar terms eventually develop recognizable identities. Others remain associated with a small audience or disappear from public attention. Their long-term significance depends on how people use them and whether credible information becomes available.
Bodenxt provides an opportunity to consider these patterns without assuming a particular outcome. For publishers, unfamiliar keywords can inspire useful research, provided that the resulting content answers genuine questions and avoids unsupported claims.
As search technology improves, the distinction between simply mentioning a keyword and genuinely explaining a subject will remain important. Content that combines relevance, accuracy, and context is more useful than pages created solely to capture search traffic.
Conclusion
Bodenxt illustrates how an unfamiliar online term can encourage questions about meaning, identity, and digital visibility. Investigating such a keyword requires more than examining its spelling or counting the number of pages that mention it.
Reliable research involves checking original sources, comparing evidence, and recognizing when information remains uncertain. These habits help readers navigate the internet more confidently and allow publishers to create content that deserves their audience’s trust.
For SEO professionals, the broader lesson is straightforward: successful content should address real search intent, use keywords naturally, and provide meaningful information. An unfamiliar term may inspire curiosity, but accurate explanations are what make that curiosity worthwhile.
Ultimately, the most responsible way to approach Bodenxt is to investigate its available context rather than assign it an unsupported identity. Clear communication and credible evidence remain essential to meaningful online discovery.
Frequently Asked Questions
1. What does Bodenxt mean?
The exact meaning of Bodenxt has not been established by the information available for this article. Additional context or a reliable source would be necessary to identify a specific definition.
2. Why might people search for Bodenxt?
People may search for unfamiliar terms after encountering them on websites, social media, online discussions, or other digital platforms.
3. Is Bodenxt a website or a brand?
The keyword alone does not confirm that Bodenxt represents a particular website, company, or product. Reliable documentation would be needed to establish its identity.
4. How can I research Bodenxt online?
Start with an exact-match search, review credible sources, check publication dates, and compare the contexts in which the term appears.
5. Can Bodenxt be used as an SEO keyword?
Yes. It can serve as a target keyword when the content addresses the subject meaningfully and avoids excessive repetition or unsupported claims.
6. What makes content about unfamiliar keywords valuable?
Valuable content explains the available context, answers relevant questions, distinguishes verified facts from uncertainty, and helps readers find trustworthy information.
-

 BLOG1 year ago
hanime1: The Ultimate Destination for Anime Lovers
-

 Technology1 year ago
GLAADVoice.com: How You Can Get Involved and Make a Difference
-

 BILLS1 year ago
Why Does My Instagram Reel Stop Getting Views After One Hour? How to Fix It?
-

 ENTERTAINMENT1 year ago
Crackstreams 2.0: The Future of Free Sports Streaming?
-

 ENTERTAINMENT1 year ago
Sflix: How It’s Changing the Way We Watch Movies and TV Shows
-

 BLOG1 year ago
ThisVid: What Makes It Stand Out in the World of Online Videos
-

 BLOG1 year ago
NHentai.nef: Understanding the Popular Hentai Archive
-

 BLOG1 year ago
Imginn: The Ultimate Tool to View Instagram Content Anonymously